
My first thought was that it would be made of patches and of girlie colours, pinks, purples etc as well as having her name on it on 5 of the squares. So, I had to first work out what size is best to do for a child's quilt then decide what size to cut each square to, making sure that I had enough for her name to fit across it. I decided on 7 squares across by 9 down and the finished square size would be 5" (after sewing together with a 1/4 inch seam.)


Once I had cut out all of my squares, making sure that I had 7 across and nine down when laid out, I took my time laying them out on the floor in an order that I was happy with. The next step was to start sewing the squares together. I had been sort of following some videos on You Tube on how to make a baby quilt, but I added my own ideas to it too. I sewed (using my little sewing machine) the first 7 squares together, sewing 2 sets of 2 and then sewing all 7 together, constantly checking that I still had them in the right pattern. I repeated this for the following 8 rows.

Then I sewed the 9 strips of 7 together. - Tutorials on how to do this can be found on the You Tube link above (there are 4 videos in total). Once the squares were all sewn together, forming one sheet, I placed the sheet onto some quilt wadding with a big sheet of pink fabric underneath, got a whole load of pins and pinned the 3 pieces together before taking it back to the sewing machine.


I rolled and pinned the edges up to make it easier to sew each section. (Constantly stabbing pins into my hands. Ouchy) I tried to make the sections as different as possible, as I am such a novice with a sewing machine, it was a nightmare trying to get the tension right on it. In the end I used the zig zag stitches for a lot of the sections on the quilt, I liked the zig zag pattern better anyway :)

Once I had finished I then had to crop the edges of the wadding and the back pink sheet to the size of the front of the quilt.

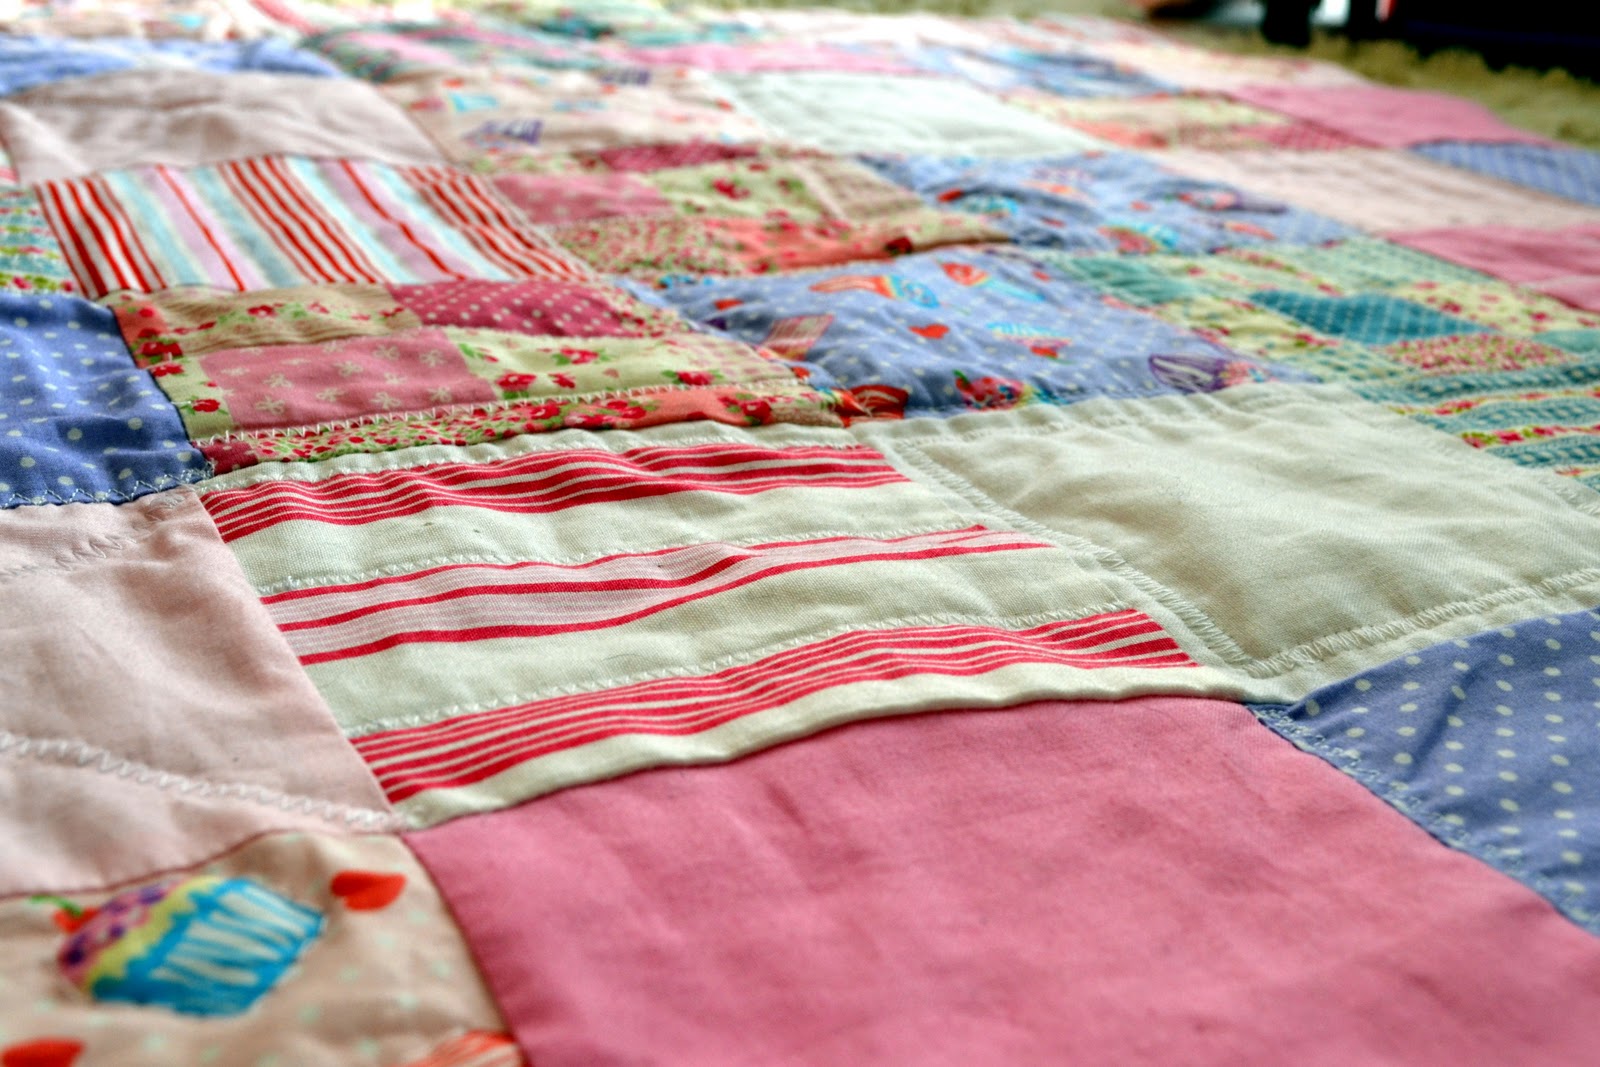
A few close up shots...
 |
| I sewed around each cupcake by hand |


The last step was adding the bias tape around the edge to complete the quilt... then I noticed how untidy the back of the quilt looked, mostly from my hand sewing around the cupcakes. I didn't want Lydia to get her little fingers caught in any loose threads, so I spent a few days sewing around each cupcake on the back too and sorting out any loose threads...
 |
| a bit ugly looking, but no little fingers can get caught in that! :) |
 |
| The finished quilt |
 |
| I signed it ;) |
Lydia seemed to like the quilt, well, she tried to pull a cupcake off of it!! hehe! And her parents were pleased with it too, so happy faces all round!
It only took me a couple of months to make the quilt in the end, admittedly I spent most of my weekends making it as I had spent all my money on presents so couldn't afford to go out and socialise! :)
 |
| Lydia on her quilt :) |
If anyone is interested, I got my material from ebay and Hobbycraft :)